


Managing rental properties comes with its fair share of challenges, and one of the most critical tasks a landlord or property manager faces is performing a unit turn. Whether you’re a seasoned property owner or just starting out, understanding how to properly turn a unit between tenants is essential to ensuring a smooth transition, keeping your property in top condition, and minimizing vacancy time.
In this blog post, we’ll dive into what a unit turn is, the steps involved, and tips on how to do it efficiently. Whether you're handling it yourself or overseeing a team, this guide will make the process easier and more manageable.
What Is a Unit Turn?
A unit turn refers to the process of preparing a rental unit for a new tenant after the previous one has vacated. It involves inspecting the space, making necessary repairs, performing cleaning, and ensuring everything is in working order for the new occupant. A well-executed unit turn not only ensures a pleasant living experience for your new tenants but also protects the value of your investment.
Step-by-Step Guide to a Successful Unit Turn
Let’s break down the process into manageable steps to ensure a smooth and efficient transition.
1. Inspect the Unit
The first step in the unit turn process is a thorough inspection. Walk through the unit and take note of any damage, wear and tear, or areas that need attention. Look for issues such as:
- Leaky faucets or plumbing problems
- Broken appliances
- Damaged flooring, walls, or fixtures
- Potential safety hazards (e.g., faulty wiring or loose railings)
It’s important to address any repair needs early on to avoid last-minute surprises.
2. Perform Necessary Repairs
Once you've identified any issues, it's time to tackle the repairs. These could range from minor fixes like patching up holes in the walls to larger jobs like replacing a broken dishwasher. It’s always a good idea to keep a list of reliable contractors or handymen who can handle repairs swiftly, especially for more complex issues.
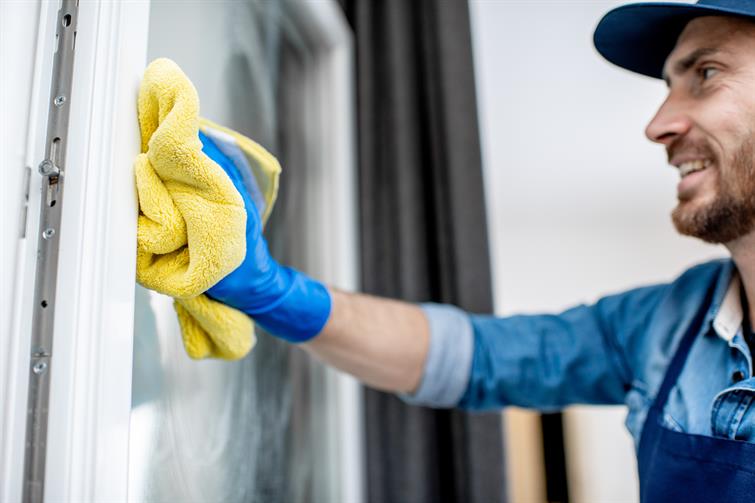
3. Deep Clean the Space
Next, a thorough cleaning is a must. Whether the previous tenant left the unit spotless or not, deep cleaning will ensure the space is fresh and ready for the next tenant. Consider these areas:
- Kitchen: Clean all appliances, countertops, and cabinets. Don’t forget to scrub the oven, fridge, and microwave.
- Bathrooms: Scrub the tubs, toilets, sinks, and mirrors. Replace any worn-out shower curtains or mats.
- Floors and Walls: Vacuum carpets or mop hard floors, and check for any scuff marks on the walls that need to be cleaned or repainted.
- Windows and Doors: Clean the windows and ensure all doors and locks are working correctly.
A clean unit not only makes the property more appealing but also sets the tone for a well-maintained rental experience.
4. Perform Safety and Security Checks
Make sure the property meets all safety standards. This includes testing smoke detectors and carbon monoxide detectors, ensuring all windows and doors lock securely, and checking the overall security of the unit. A well-maintained unit is a safe unit, and tenants will appreciate the peace of mind that comes with that.
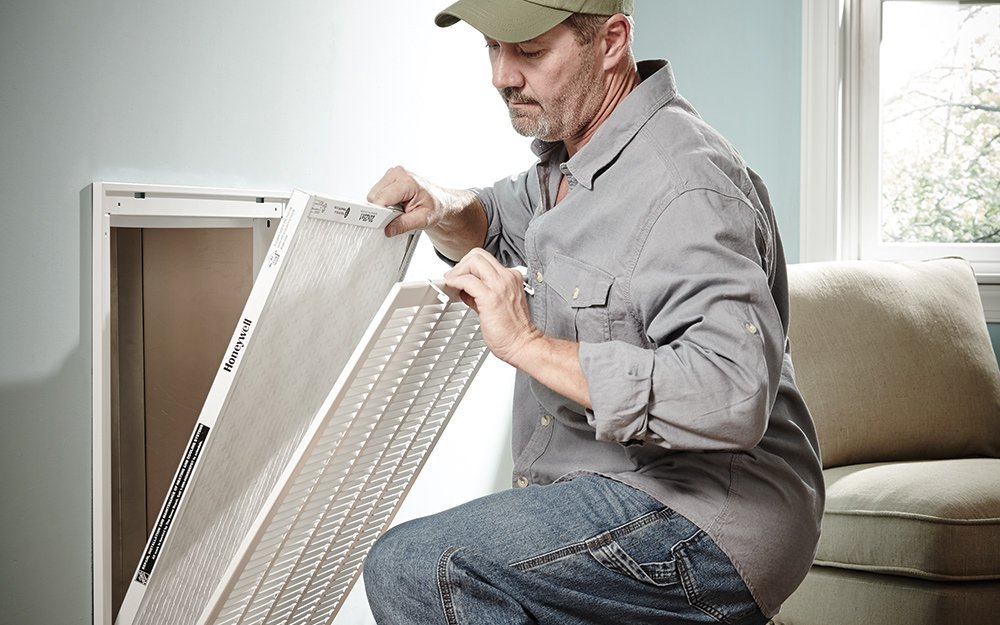
5. Prepare for New Tenants
Once repairs and cleaning are complete, it’s time to get the unit ready for the new tenants. This includes setting up any final touches, such as:
- Replacing air filters in HVAC systems
- Ensuring all light bulbs work and replacing any burnt-out ones
- Restocking essential items like toilet paper, soap, and cleaning supplies if that’s part of your tenant offering
A well-prepared unit speaks volumes and sets expectations for tenants to treat the space with care.
6. Market the Unit
Now that the unit is ready, it’s time to attract new tenants. Take high-quality photos of the freshly cleaned and repaired space for your listings. You may also want to schedule open houses or private showings to give prospective tenants a feel for the space.
Make sure your rental listings highlight the key features of the unit and any upgrades or special amenities that could make your property stand out.
Best Practices for an Efficient Unit Turn
To make the process smoother and more efficient, consider these best practices:
- Stay Organized: Create a checklist for each unit turn to ensure you don’t miss any important steps.
- Be Proactive: Keep an eye on regular maintenance so you can address minor issues before they become major problems.
- Delegate Tasks: If you have a team, assign specific tasks to help speed up the process.
- Minimize Vacancy Time: The quicker you can complete the unit turn, the less downtime you’ll have between tenants. This will help keep your rental income consistent.
Conclusion
Mastering the unit turn process is one of the most important skills any landlord can have. By following these steps and tips, you’ll be able to transition your rental units smoothly, keep your property in excellent condition, and ensure your new tenants have a positive experience from the start. Whether you’re handling everything yourself or working with a team, staying organized and proactive will make all the difference.
Don’t forget to like and share this blog with fellow landlords. We hope this guide makes your next unit turn a breeze!