


Transform Your Living Space: How to Mount a TV Like a Pro!
Looking to give your living room or entertainment space a sleek, modern update? Mounting your TV to the wall is a quick and easy way to achieve that minimalist, stylish look while saving space. Plus, it’s a DIY project that anyone can do! In just a couple of minutes, we’ll guide you through the step-by-step process with clear instructions and handy tips to ensure a secure and flawless setup.
Why Mount Your TV?
Wall mounting your TV not only frees up valuable floor space, making your room feel larger and less cluttered, but it also provides a clean and organized look. Whether you’re transforming your home entertainment system or simply looking to maximize space in a smaller apartment, mounting your TV is a game-changer.
Get Ready: What You’ll Need
Before diving in, make sure you have the following tools and materials:
- TV wall mount kit
- A drill with appropriate bits
- A stud finder
- A level
- Measuring tape
- Screwdriver
- A friend (optional, but highly recommended)
Step-by-Step Guide to Mounting Your TV
-
Choose the Right Spot
Start by selecting the perfect spot on your wall for the TV. Consider factors like viewing angle, the height of the TV, and the proximity to electrical outlets. Use a stud finder to locate the studs in your wall, as they will provide the most secure support for your TV. -
Install the Wall Mount Bracket
Once you’ve marked the location of the studs, position the wall mount bracket where you want it and use a level to ensure it’s straight. Drill holes into the studs and secure the bracket with screws. It’s important to make sure it’s tight and secure, as this will hold the weight of your TV. -
Attach the TV Bracket to the TV
Now, attach the TV bracket to the back of your television. Most modern TVs come with mounting holes that line up with the bracket, but double-check to ensure they match. Tighten the screws to ensure the bracket is securely attached. -
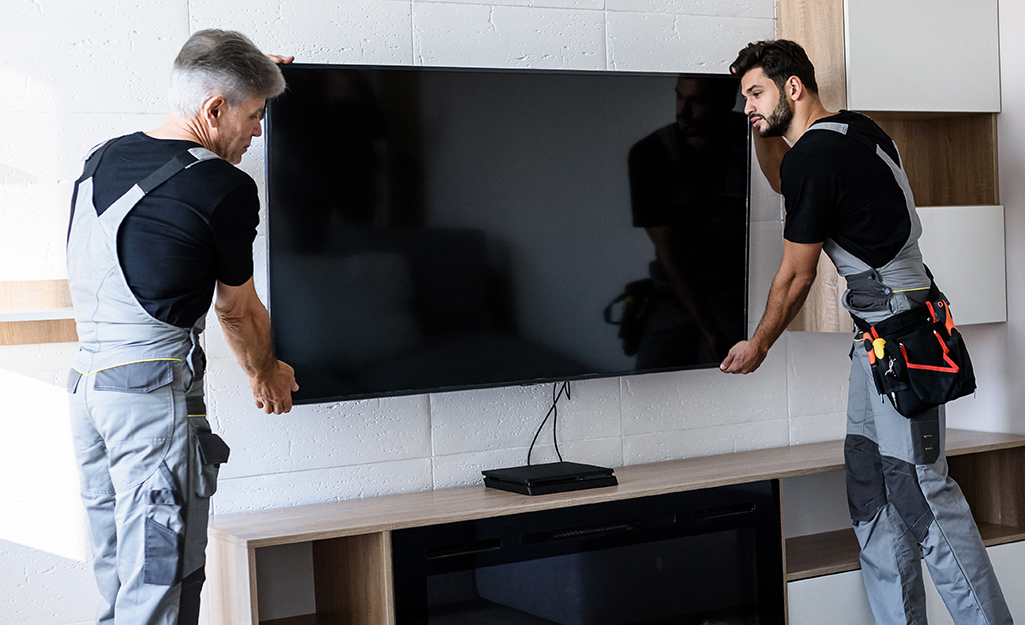
Mount the TV
With the help of a friend (or by yourself, if you’re feeling confident), lift the TV and hook it onto the wall-mounted bracket. Make sure everything is aligned and properly secured. -
Connect Your Cables
Before you step back to admire your work, connect all the necessary cables like HDMI, power, and any other peripherals. It’s easier to do this before the TV is fully mounted.
Tips for a Secure and Stylish Setup
- Double-check everything: Take extra care to ensure the wall mount is secure before attaching the TV.
- Hide cables: Consider using a cable management system or wall-mounted TV panel to hide unsightly cords for a cleaner look.
- Test the tilt and swivel: If your mount allows for tilting or swiveling, test the movement to make sure it works as intended.
Time to Enjoy Your New Setup!
And that’s it! In just a few easy steps, you’ve transformed your living space with a stylish, space-saving TV setup. Whether you're creating a sleek entertainment center or maximizing space in a smaller room, this DIY project is both simple and rewarding.
Enjoy the energetic background music in our guide as we make this process easy, fun, and stress-free. Don’t forget to share your progress, and if you found our video helpful, like and share it with your friends!
Happy mounting!
📩 Email: dario@dariolorenzo.com
📞 Call/Text: (480) 766-6725